Getting started
Finish setup — show PriceMux prices on your pages and register
The two one-time steps after installing PriceMux — pin the base-price blocks on your product pages, and add the POS Pricing tile to your register's home screen.
Updated June 9, 2026
After you install PriceMux™ and set up your first rule, two small jobs remain. They put PriceMux where you and your customers actually see it: on your product pages in the Shopify admin, and on your register (Shopify POS). Shopify doesn’t let an app place these for you — a person has to click them in. Each step takes about a minute, and you only do it once.
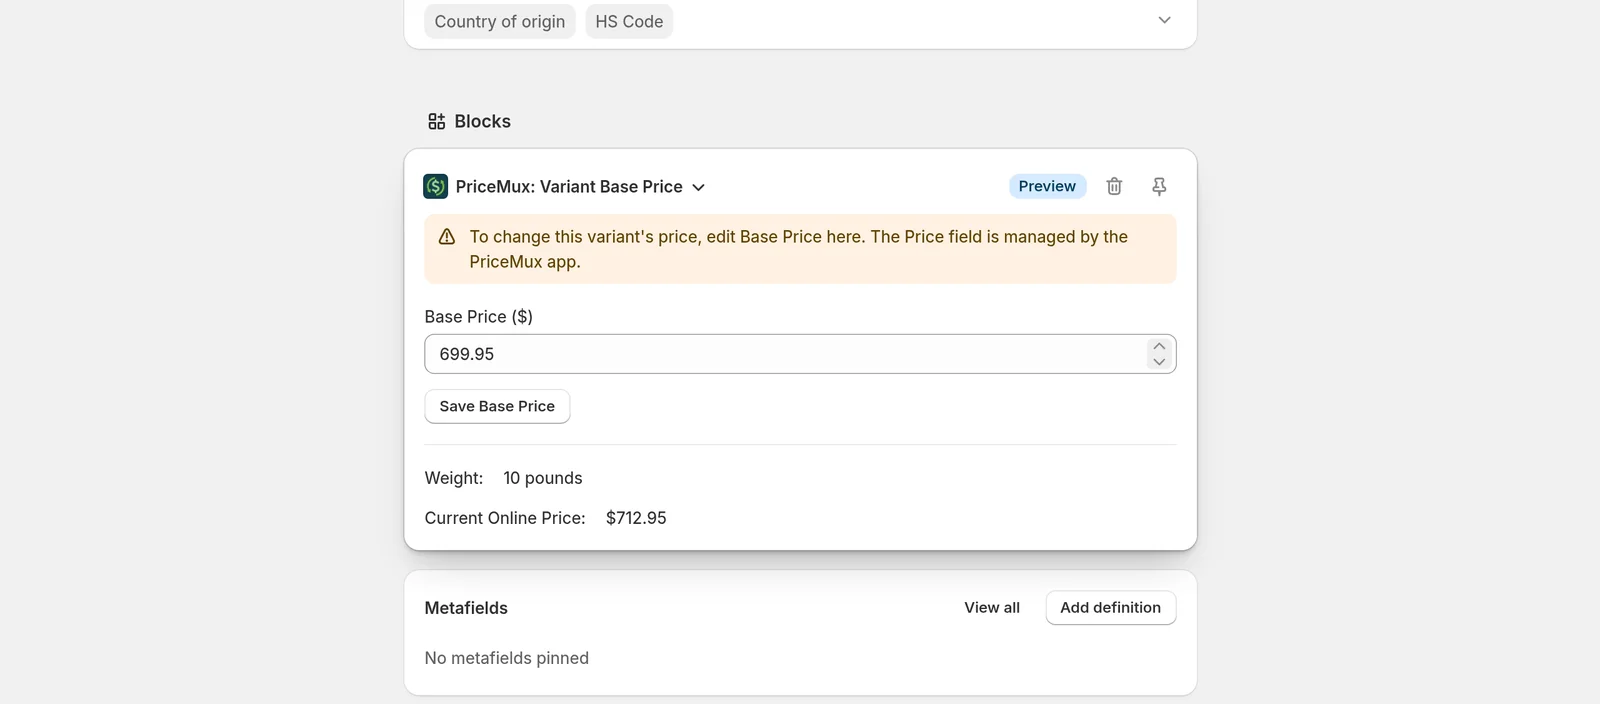
The screenshots below use a snowboard with a $699.95 base price and a $712.95 online price — the $13 difference is the shipping a weight rule added. Your products will show your own numbers the same way.
Step 1 — Pin the base-price blocks on your product pages
These blocks show each product’s base price and online price side by side, right on the product page in your admin — so you always know which price is which, and you can edit the base price without leaving the page.
- Open any product, then click one of its variants.
- Scroll to the bottom of the variant page. In the Blocks section, click + Block and choose PriceMux: Variant Base Price.
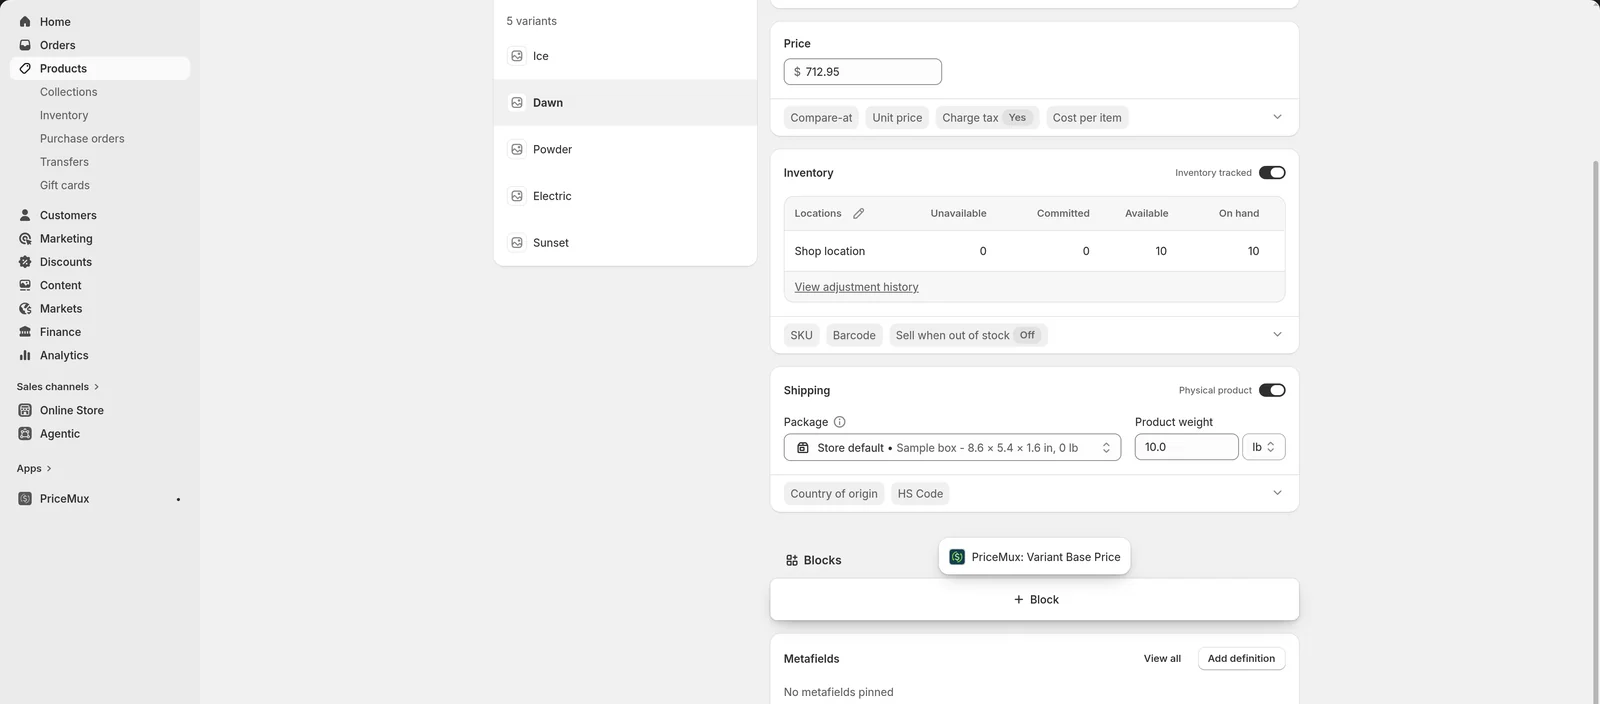
- The block appears, showing this variant’s base price and current online price. Now click the pin icon in the block’s top-right corner (hover it and Shopify says Pin to page for all staff). This is the step people miss: an unpinned block disappears as soon as you leave the page. Pinned, it stays on every variant page, for everyone on your staff.
- Go back to the main product page and repeat the same two clicks there: + Block → PriceMux: Product Base Price, then pin it. It’s a separate block, so it needs its own pin.
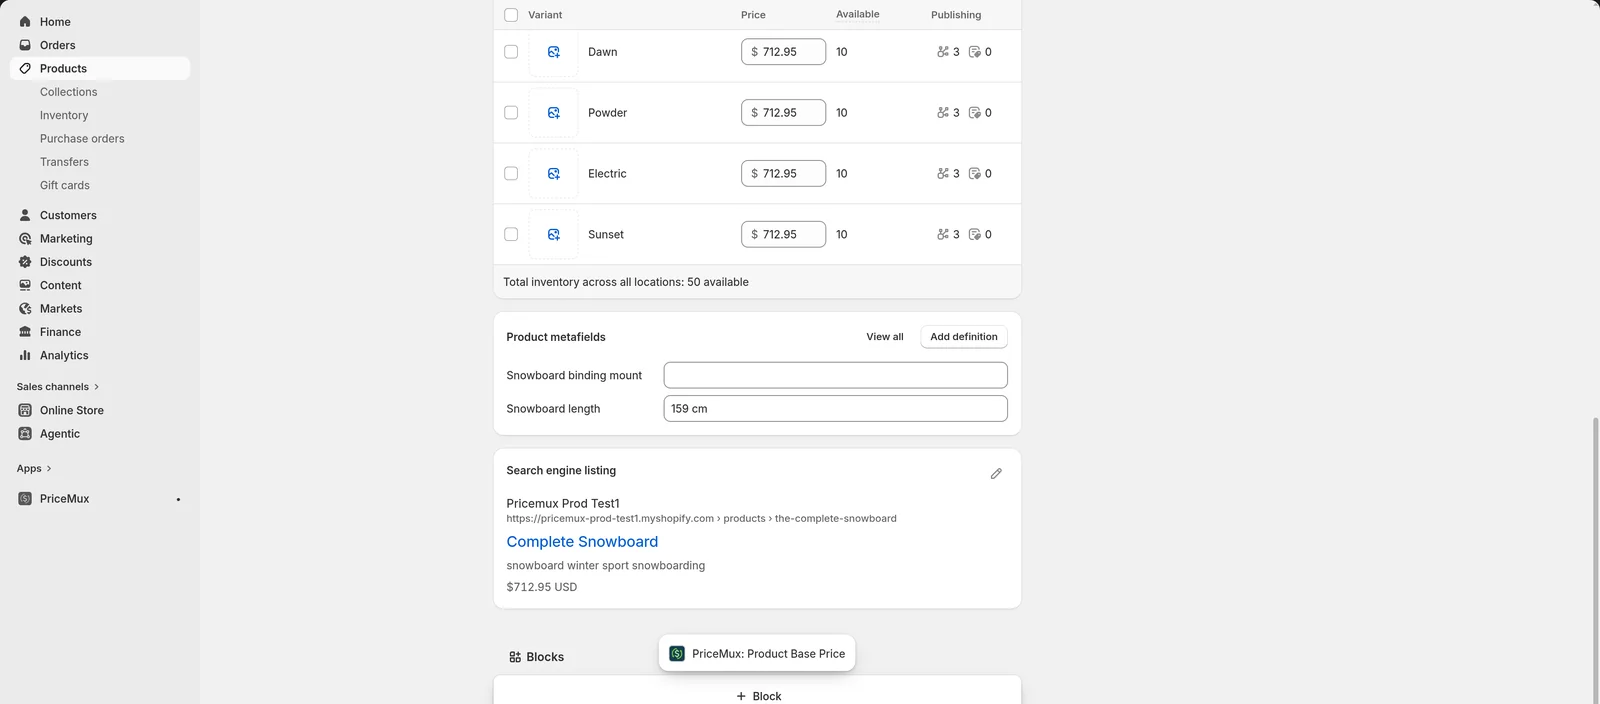
That’s it for this step. Both blocks now show on every product and variant page in your admin — you never have to add them again.
Step 2 — Add the POS Pricing tile to your register
If you only sell online, you can skip this step.
The tile is what keeps your register at the base price while your online price includes shipping — so the snowboard above still rings up at $699.95 in store, even though it shows $712.95 online. And once the tile is on your register’s home screen, the price drop happens automatically at checkout — your staff don’t have to tap anything.
One requirement first: in-store pricing needs Shopify POS Pro, a paid add-on from Shopify, billed per retail location. It’s separate from your Shopify plan and your PriceMux plan — see In-store pricing and Shopify POS Pro for how the three fit together.
- In your Shopify admin, open the Point of Sale sales channel and click Settings.
- Under Customization, click POS app. This opens Shopify’s POS editor — a live preview of your register’s home screen (Shopify calls it the smart grid).
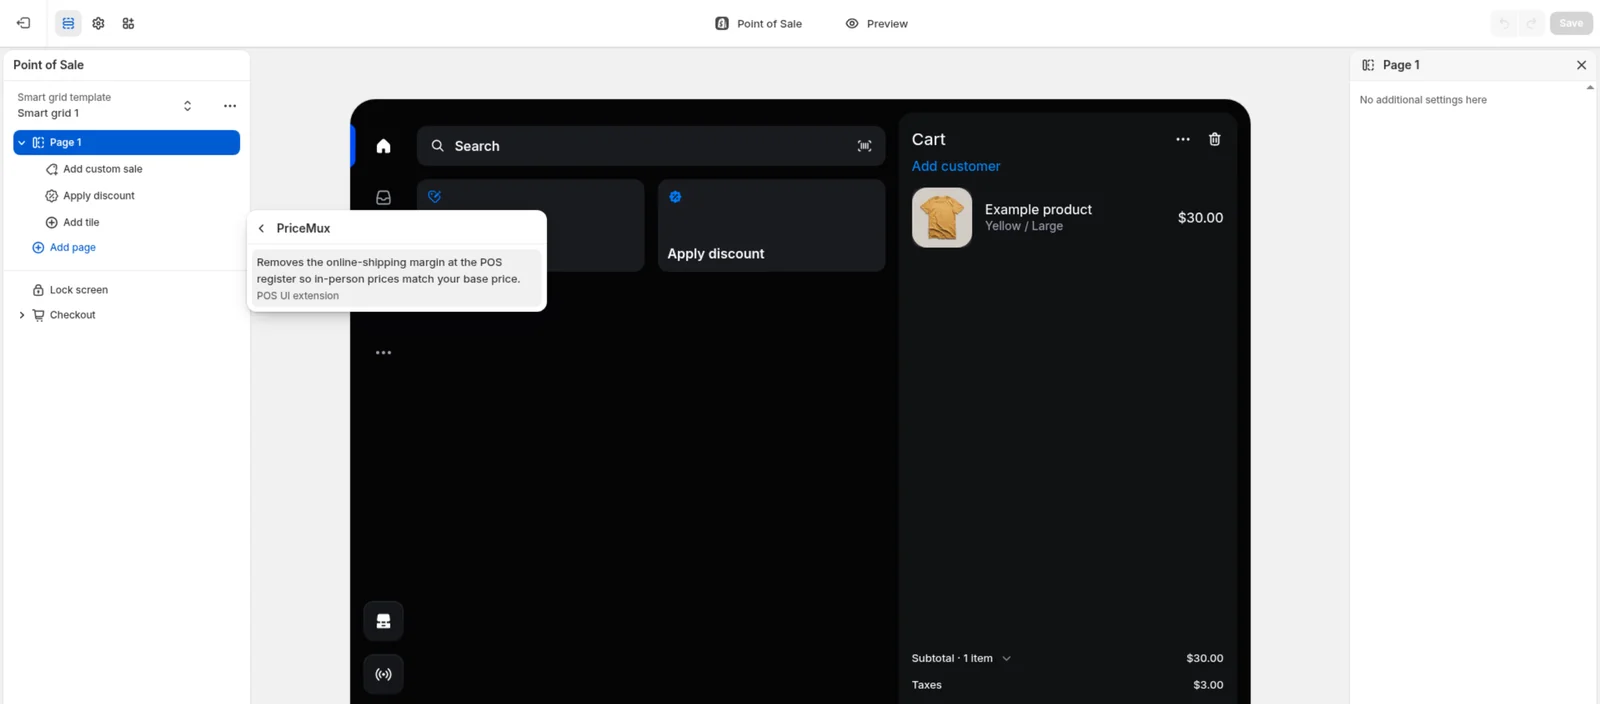
- In the left sidebar, click the page you want the tile on (for example Page 1), then click Add tile.
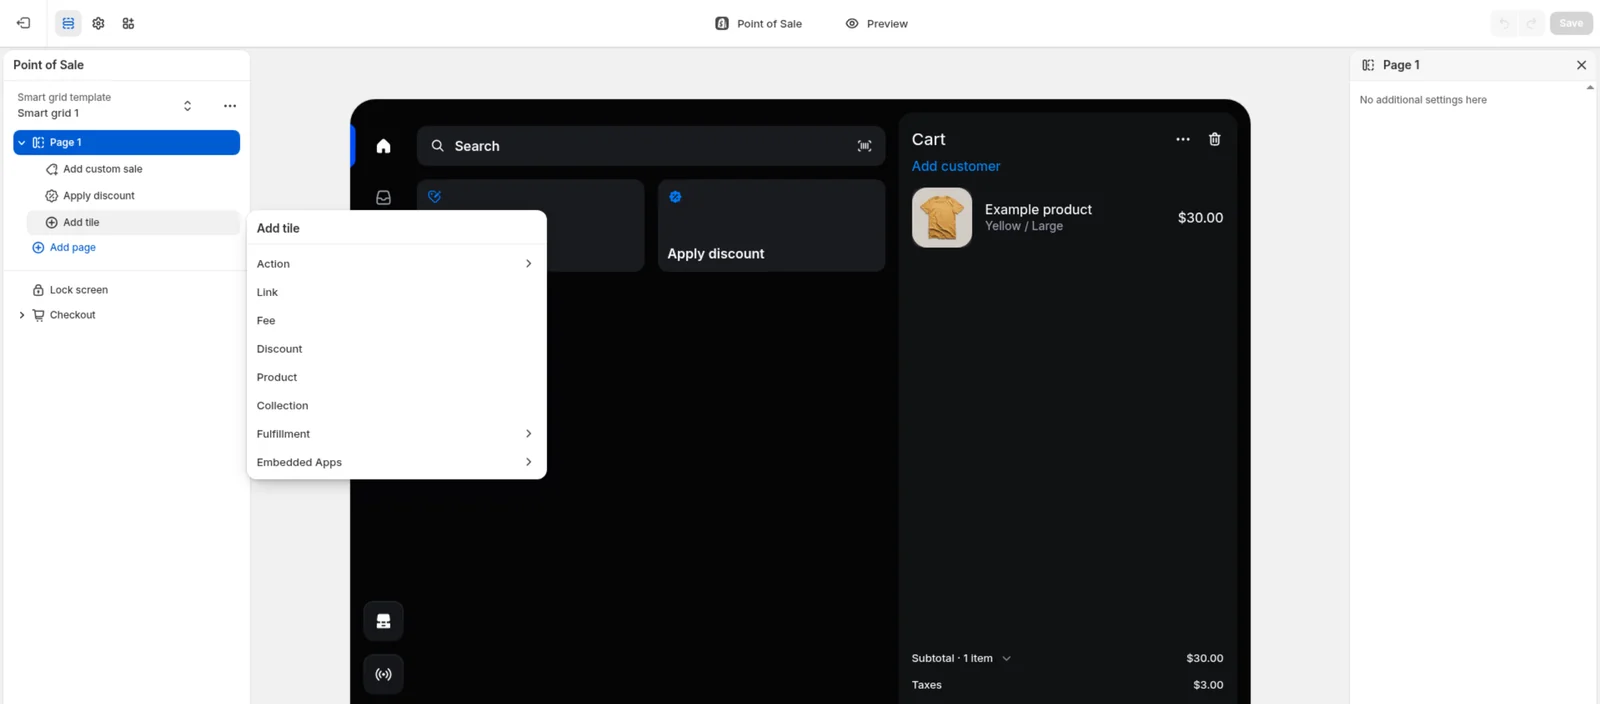
- In the menu, choose Embedded Apps → PriceMux, then click the PriceMux tile entry.
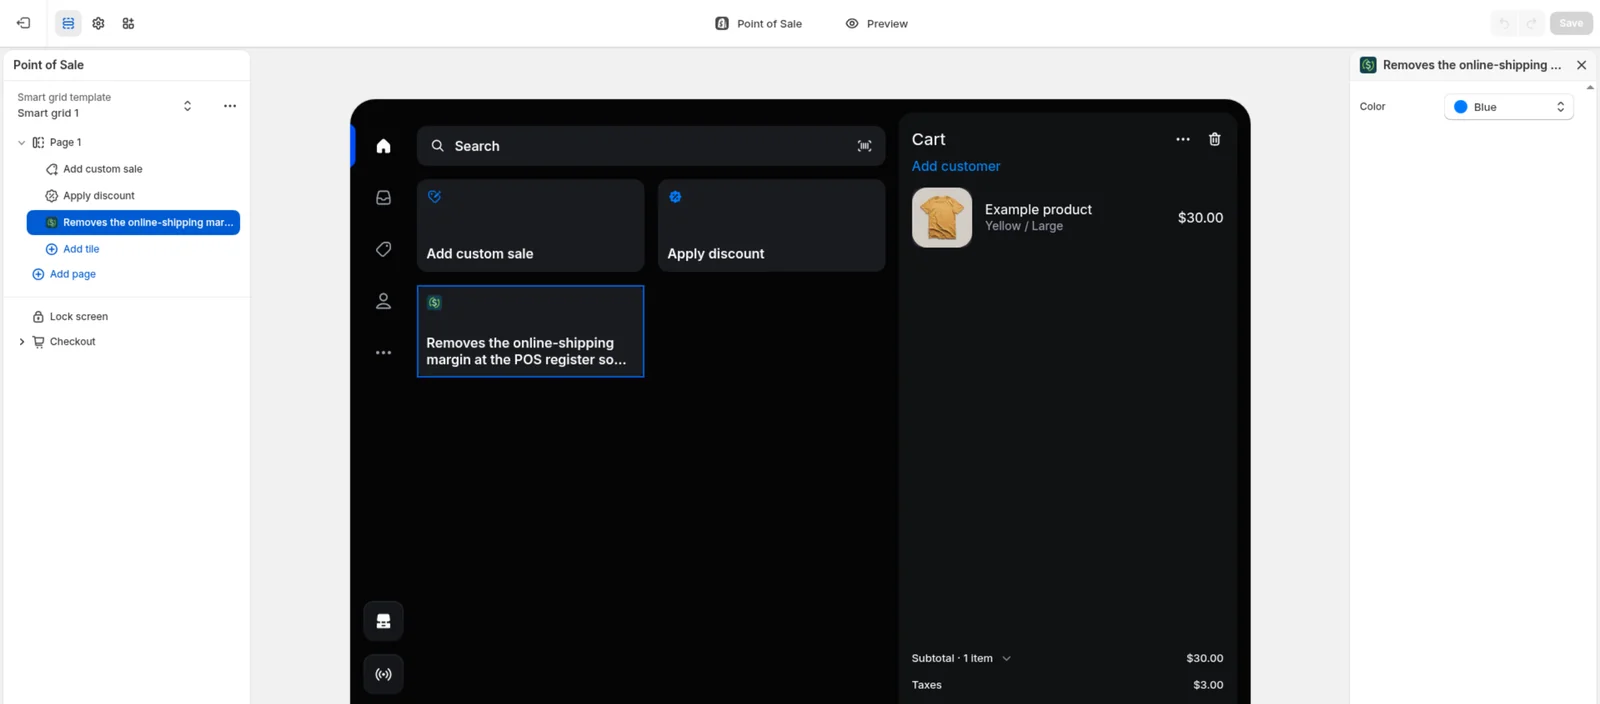
- The tile lands on the grid. Click Save in the top-right corner — done.
Two small notes:
- If you use more than one smart grid template (the dropdown at the top left of the editor), repeat this for each template your locations use.
- On some stores, Shopify still shows the older screen instead: a POS apps list under Point of Sale → Settings. If that’s what you see, find PriceMux: POS Pricing in the list and click Add — same result.
After both steps
That’s the whole setup. Back on PriceMux’s Home page, you can dismiss the “Finish setup” card with I’ve done this — and from here on, your rules do the work: online prices include shipping, and the register charges the base price.
Next steps
- Editing base prices and weights — how to change the base price your rules work from.
- In-store pricing and Shopify POS Pro — why the register side needs POS Pro, and how to check whether you have it.